How to winterize outdoor faucets: A step-by-step guide to preventing frozen pipes
Pro US Plumbers ·
In this article
- Key Takeaways
- Why winterizing outdoor faucets matters
- Gather the right tools and supplies
- Inspect the faucet and connected plumbing
- Shut off and drain a standard outdoor faucet
- Protect the faucet from freezing temperatures
- Winterize frost-free and specialty faucets
- Troubleshoot common winterization problems
- Further reading
- Conclusion
- Frequently Asked Questions
Key Takeaways
Winterizing an outdoor faucet is a small seasonal task that can help you avoid frozen pipes, hidden leaks, and expensive water damage. The safest approach is to disconnect accessories, shut off and drain the line, then protect any exposed plumbing.
- Remove hoses, splitters, and other attachments before freezing weather arrives.
- Find and close the indoor shutoff valve when the faucet has one.
- Open the outdoor faucet so remaining water can drain from the line.
- Use insulation as added protection, not as a substitute for draining.
- Call a licensed plumber if a valve will not close or a pipe may have burst.
Why winterizing outdoor faucets matters
Learning how to winterize outdoor faucets can spare you a preventable plumbing emergency. When water freezes inside a confined pipe, it expands and can place damaging pressure on fittings, valves, and connected sections of plumbing. The visible faucet may look fine while a split occurs farther inside a wall or crawl space. A few minutes of preparation before the first hard freeze is usually easier than dealing with a leak after thawing.
How freezing temperatures damage plumbing
Water left in an outdoor faucet or its supply line can freeze during a prolonged cold spell. As the ice expands, it may block the line while pressure builds between the ice and the closed indoor supply. That pressure can damage the pipe or a joint, and the problem may not become obvious until temperatures rise and water begins moving again.
The risk is greater when a pipe runs through an unheated basement, crawl space, garage, or exterior wall. Insulation slows heat loss, but it does not remove water from the line. Draining the supply line first is the more dependable starting point.
Warning signs of an at-risk outdoor faucet
A faucet deserves attention before winter if it drips after you close it, feels loose at the wall, or shows rust and mineral buildup around its connections. Dampness inside a nearby cabinet, basement, or crawl space can also point to a slow leak. Pay attention to weak flow, unusual noises, or a handle that becomes difficult to turn.
Do not wait for ice to form before investigating. A small leak can leave enough water in or around the fixture to freeze, and a damaged fitting may worsen when temperatures change.
When to winterize based on your climate
Plan to winterize before the first forecast that could keep temperatures below freezing for several hours. In colder regions, that may mean completing the work in early fall; in milder areas, you still need a plan for sudden cold snaps. If you will be away during winter, prepare the faucet before leaving rather than relying on a later weather update.
Check every exterior faucet, including one on the side or rear of the property that you rarely use. A useful Ready.gov winter weather preparedness can help you make a complete list of accessories and shutoff locations to check.
Outdoor faucets that need extra protection
Standard hose bibs connected to pipes in unheated areas need careful draining and insulation. Faucets attached to irrigation systems, long exposed runs, or older piping may require additional attention because water can remain in more places. Frost-free faucets also need correct installation and hose removal; their design reduces risk but does not make them immune to freezing.
If you are uncertain which type you have, inspect the length of the faucet body inside the wall and trace the connected pipe as far as you safely can. When access is limited, a professional inspection is often less costly than repairing concealed water damage.
Gather the right tools and supplies
You do not need a large toolkit for most faucet winterization jobs. Gather everything before you begin so you are not leaving a partially drained line while searching for a missing cap or towel. The exact supplies depend on the faucet style, the condition of the plumbing, and how exposed the pipe is to cold air.
A basic setup usually includes a flashlight, adjustable wrench, bucket, towels, and an insulated faucet cover. If you find corrosion or a worn washer, stop and assess whether the repair is within your skill level. Pro US Plumbers connects homeowners with independent plumbers in their area. The plumbers you hear from are independent businesses, not employees or agents of ours, so confirm each one’s license and insurance yourself before you hire.
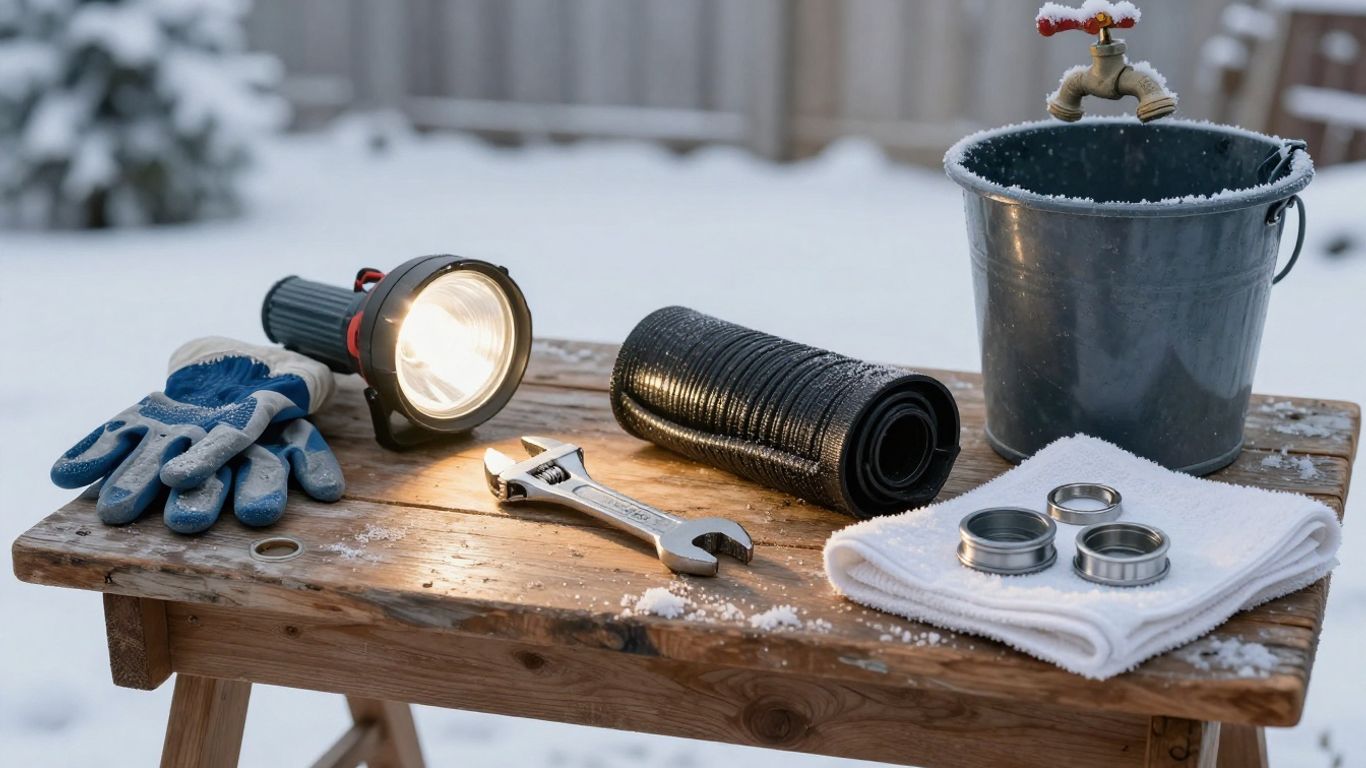
Basic tools for shutting off and draining faucets
Keep a flashlight available for locating a valve in a dim basement or crawl space. An adjustable wrench can help with a stubborn connection, though you should avoid forcing a valve or fitting that may be brittle. A bucket or shallow pan catches residual water, while absorbent towels help you notice whether a connection continues to seep.
You may also want a marker or small label to identify the correct shutoff valve after you find it. Clear labeling saves time during the next seasonal check or an emergency.
Insulation covers and weather-resistant materials
A fitted insulated faucet cover can reduce exposure to cold air around the exterior fixture. For exposed pipe, use insulation intended for plumbing and secure it so wind and moisture cannot easily dislodge it. Exterior materials should tolerate damp conditions, but they should not seal water against the pipe or wall.
Measure the exposed area before buying supplies. A cover that is too loose can admit cold air, while one that is forced over a bulky attachment may leave gaps or damage the faucet.
Replacement washers, caps, and repair supplies
A worn washer can cause a faucet to drip, so having a compatible replacement on hand may be useful. Keep spare hose washers and thread-protecting caps available for disconnected attachments, but do not use a cap to hide a leak. If a fitting is cracked, heavily corroded, or difficult to identify, replacement parts should be selected carefully rather than guessed.
The following quick inventory keeps the job focused without encouraging unnecessary repairs:
- Adjustable wrench and flashlight
- Bucket, shallow pan, and absorbent towels
- Insulated faucet cover and pipe insulation
- Compatible washers or replacement seals
After gathering these items, compare the supplies with the actual faucet. A cover and washer cannot correct a split pipe or a shutoff valve that fails to isolate the line.
Safety equipment and cleanup materials
Wear work gloves when handling rough insulation, corroded metal, or sharp edges around a wall opening. Eye protection is sensible if you are brushing away debris or loosening a connection. Keep the work area dry and well lit, especially near electrical equipment in a basement or utility room.
Clean up standing water as soon as you finish draining. If you find staining, soft drywall, mold-like growth, or a persistent wet area, document it and arrange a plumbing inspection rather than covering it with insulation.
Inspect the faucet and connected plumbing
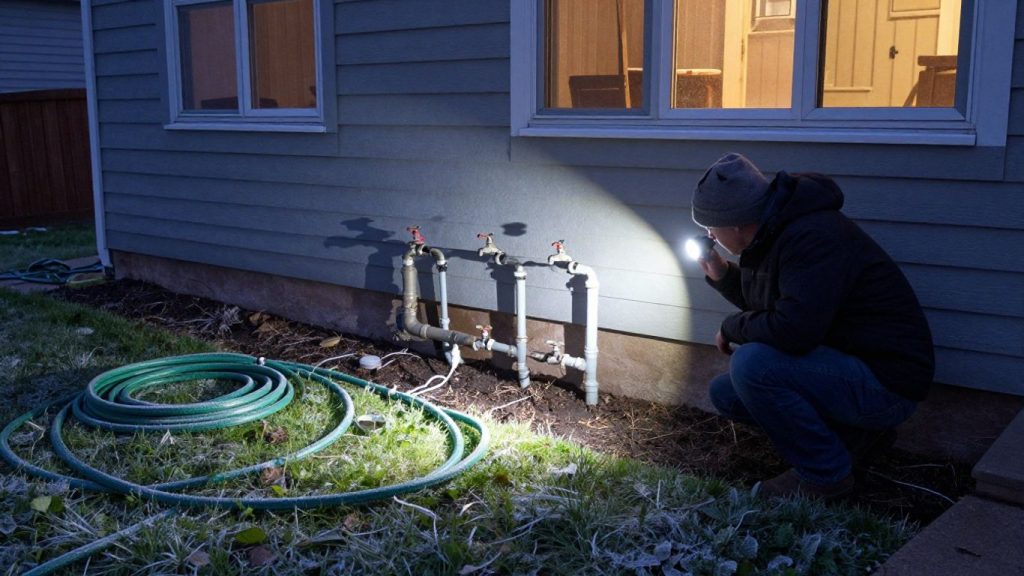
Inspection should come before shutting anything off. Walk from the outdoor faucet toward the interior, looking for the points where cold air, moisture, or a failing connection could create trouble. You are trying to understand the system, not merely turn a handle and hope the line is empty.
Take a photograph of the valve and pipe layout if the area is crowded. That simple record can make the next winterization easier and can help a plumber understand the setup if a problem appears later.
Check for leaks, cracks, and corrosion
Open the faucet briefly and watch the connection at the wall, the handle stem, and any vacuum-breaker device. Drips, green or white deposits, rust flakes, and swollen wood around the entry point deserve attention. Once the water is off, dry the area and check again after several minutes.
Do not tighten a corroded fitting aggressively. You may turn a manageable seep into a broken connection, especially on older plumbing.
Identify the indoor shutoff valve
The indoor shutoff is often near the point where the outdoor line branches from the main plumbing, but it may also be in a basement, crawl space, utility room, or under a sink. Trace the pipe if possible, and test the valve gently while the outdoor faucet is open. A functioning valve should stop the flow after the remaining water drains.
If you cannot tell which valve controls the faucet, do not shut off the whole home without understanding the consequences. Label the correct valve once it is identified so the next seasonal check is faster.
Determine whether the faucet is frost-free
A frost-free faucet generally has a longer body that places the shutoff mechanism farther inside the warmer part of the building. That design can lower freezing risk when installed with the correct slope and kept free of attached hoses. It still depends on proper installation and cannot protect against every cold-weather condition.
Look for the direction of the faucet body and the pipe entry point rather than relying only on its label. If the faucet slopes incorrectly or the wall cavity is exposed to severe cold, ask a plumber to evaluate it.
Inspect exposed pipes inside the home
Follow the line through any unheated space and check for missing insulation, drafts, or gaps around the wall penetration. Pipes near vents, doors, windows, and foundation walls can lose heat quickly. Seal obvious air gaps with an appropriate material, taking care not to block ventilation that the space needs.
If the pipe disappears behind finished walls, avoid cutting into them simply to inspect it. Note the likely route and watch for dampness or staining during the next thaw.
Shut off and drain a standard outdoor faucet
For a standard faucet, the basic sequence is simple: remove attachments, close the indoor supply, open the outdoor faucet, and allow the line to empty. Move slowly and watch what happens at each stage. If the water does not stop or the valve behaves strangely, pause rather than forcing the hardware.
The goal is to remove standing water from the faucet and connected section of pipe before adding any insulation. These steps apply to a typical setup with an accessible indoor shutoff; specialty systems may need a different procedure.
Disconnect hoses and attachments
Remove the garden hose, splitter, timer, nozzle, and any other fitting from the faucet. Drain each accessory separately before storing it in a location protected from freezing temperatures. Leaving an attachment connected can hold water against the faucet and interfere with drainage.
Inspect the hose washer and threads while the parts are off. Set damaged accessories aside for repair or replacement instead of reconnecting them for convenience.
Close the indoor water supply valve
Turn the indoor shutoff clockwise, or follow the valve’s labeled direction, until it closes without excessive force. Some valves use a lever rather than a round handle; a quarter-turn generally indicates the closed position, but rely on the valve design and not on a guess.
Keep the outdoor faucet open while you close the valve so you can observe whether the flow decreases. If water continues at full pressure, you may have found the wrong valve or the shutoff may not be working.
Open the outdoor faucet to release water
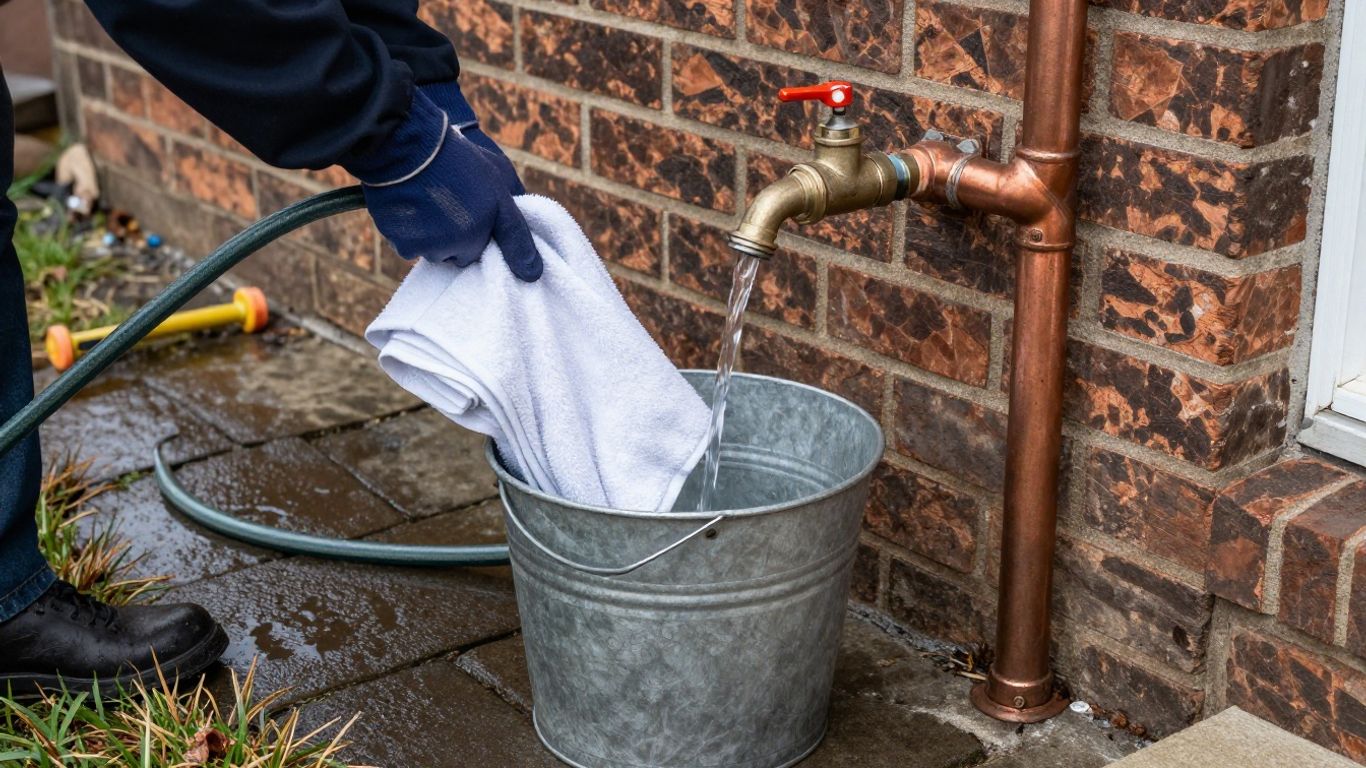
With the indoor supply closed, open the outdoor faucet fully. Let the remaining water run into a bucket or onto a safe drainage area. The flow may start normally and then taper off as the line empties.
Do not close the faucet immediately when the first stream stops. A short pause can reveal additional water draining from the connected pipe, especially if the line runs through a crawl space or slopes unevenly.
Drain trapped water from the supply line
Some systems include a small drain port near the indoor shutoff. If yours does, place a container beneath it and open it carefully after the supply valve is closed. Keep track of the cap or plug, and reinstall it only after the line has finished draining.
Use this simple sequence to avoid leaving water trapped in a low section:
- Keep the outdoor faucet open.
- Open the line drain, if the system has one.
- Wait for the flow to stop completely.
- Close the drain port and check for seepage.
The exact drain time varies with the pipe layout. After the water has stopped, inspect the area again rather than assuming every low point is empty.
Close the faucet after it has fully drained
Once the faucet and any drain port have finished releasing water, close the outdoor handle gently. Some homeowners leave a standard faucet open, but the correct position depends on the plumbing design and the manufacturer’s instructions. The key is that the supply has been isolated and drained, not that the handle is forced into a particular position.
Dry the fixture, install the protective cover, and check the indoor valve area one more time. A dry inspection makes it easier to spot a new leak later.
Protect the faucet from freezing temperatures
Draining is the central step, but protection still matters when cold air reaches the fixture or nearby pipe. Insulation slows heat loss and can reduce drafts around the wall opening. It should support a sound winterization routine rather than conceal a leak or replace a working shutoff valve.
After installing protection, inspect it during the first severe cold spell. Wind, rain, animals, and repeated temperature changes can loosen materials or expose gaps.
Install an insulated faucet cover
Choose a cover that fits snugly over the faucet and seals around the wall without crushing the fixture. Follow the cover’s installation instructions, and make sure the faucet is dry before placing it. A cover should sit securely but remain removable for inspection.
Check behind and beneath the cover after wet weather. If water collects against the wall or faucet, adjust the arrangement so the area can dry.
Insulate exposed pipes without trapping moisture
Wrap accessible pipe with plumbing insulation designed for its diameter and location. Leave valves, unions, and drain ports accessible if you will need to inspect or operate them. Avoid packing wet material tightly around metal, because trapped moisture can accelerate corrosion.
Where a pipe passes through an exterior wall, address drafts around the opening with a suitable sealant or repair. Insulating the pipe alone will not stop cold air from entering the cavity.
Keep indoor areas around plumbing warm
Close doors and windows that expose plumbing to outdoor air, and keep heat circulating in rooms that contain supply lines. If you leave home during a freeze, maintain safe indoor temperatures rather than shutting the heat off completely. Open cabinet doors where appropriate to let warm air reach pipes, while keeping cleaning products and other hazards out of children’s reach.
Never use an open flame or improvised heater beside a pipe. If a space needs supplemental heat, use only equipment approved for that location and follow its safety instructions.
Avoid relying on faucet covers alone
A cover cannot drain water from the line, repair a cracked fitting, or compensate for a failed indoor shutoff. It also may not protect a pipe that runs deep inside an unheated wall or crawl space. Treat it as the final layer after inspection and drainage.
If a faucet remains vulnerable despite these steps, ask a licensed plumber about a longer-term repair or replacement. Pro US Plumbers is a referral service: it puts your request in front of independent plumbers who work nearby.
Winterize frost-free and specialty faucets
Specialty faucets can reduce routine work, but their protection depends on details that are easy to miss. A frost-free design needs correct orientation, an unobstructed drain path, and no hose or attachment holding water at the outlet. Anti-siphon devices and irrigation connections add more places to inspect.
Read the faucet manufacturer’s instructions when available. If the installation is concealed or connected to several zones, treat it as a system rather than applying the standard steps blindly.
Confirm that a frost-free faucet is installed correctly
Check that the faucet body slopes slightly downward toward the exterior so water can drain when the handle is closed. If it slopes inward, water may remain in the barrel and freeze. Also look for an interior shutoff or drain arrangement that lets you isolate the line.
A frost-free label does not prove the installation is correct. If the faucet has frozen before, investigate the slope, wall exposure, and hose connection rather than simply adding another cover.
Remove hoses from frost-free faucets
Disconnect the hose before freezing weather, even when the faucet is described as frost-free. A connected hose can prevent the faucet from draining and may leave water under pressure inside the body. Drain and store the hose separately.
This is one of the easiest steps to skip because the faucet may appear protected. Make it part of your regular autumn routine.
Handle anti-siphon and vacuum-breaker devices
An anti-siphon or vacuum-breaker device helps protect the water supply from backflow, but it can contain moving parts and may be vulnerable to damage if handled roughly. Inspect it for cracks, corrosion, or persistent dripping. Do not remove or bypass it just to make winterization easier.
If the device prevents the faucet from draining or leaks after you operate it, follow the manufacturer’s service guidance or arrange a professional repair.
Protect faucets with shutoff valves or irrigation connections
Faucets connected to irrigation lines, timers, or splitters require each attachment to be disconnected and drained. Close the appropriate supply valve and follow the irrigation system’s winterization procedure for trapped water. A faucet may be empty while a connected branch remains full.
If several exterior fixtures share one valve, confirm that every branch has drained before insulating the outlets. Pro US Plumbers can put your job in front of independent plumbers locally.
Troubleshoot common winterization problems
Not every faucet will cooperate on the first attempt. A valve may be seized, a line may already be frozen, or water may appear in a wall after temperatures rise. Stop when the situation moves beyond simple maintenance, especially if you cannot isolate the water supply.
Fast action matters when water is escaping. If you need professional help, seek a licensed plumber and ask what the visit, diagnostic work, and likely repair will cost before service begins.
What to do if the shutoff valve will not close
Do not force a stuck valve with a longer wrench. Forcing it can break the stem or fitting and turn a seasonal task into an active leak. If you can safely reach the home’s main shutoff, know where it is before attempting any further work, and keep towels and a container nearby.
A plumber can replace the faulty valve and verify that the outdoor line is isolated. If water is already escaping, use an emergency plumbing service rather than waiting for the next freeze.
How to respond to a frozen outdoor faucet
Do not use a torch, lighter, or open flame to thaw the faucet. First shut off the water supplying the fixture if you can, then warm the area gradually with safe indoor heat while watching for leaks. Never leave a portable heater unattended or place it near combustible materials.
If the faucet is frozen inside a wall, stop warming it if you hear movement, see moisture, or cannot monitor the hidden pipe. A controlled professional thaw is safer than creating a sudden rupture.
Signs of a burst pipe after thawing
A burst may show up as dripping, a sudden drop in water pressure, damp drywall, pooling near the foundation, or water running when no fixture is open. Musty odors and new stains can appear after the visible ice has melted. Check nearby rooms, ceilings, crawl spaces, and cabinets if they are accessible.
Shut off the main water supply if necessary, move valuables away from water, and avoid electrical hazards. Take photographs for your records and arrange an inspection before turning the water back on fully.
When to call a licensed plumber
Call a licensed plumber when a shutoff will not work, a pipe has cracked, water is entering a wall, or you cannot determine whether the line is drained. Professional help is also appropriate for recurring freezes, hidden piping, complex irrigation connections, and repairs that require cutting into finished surfaces.
Pro US Plumbers only makes the introduction; the price, timing and the work itself are agreed directly with the plumber you choose. That clarity is useful when you are dealing with active water damage and need to know both how quickly help may arrive and what the service involves.
Related articles
How often should a sump pump run? A guide to normal cycles, warning signs, and fixes and Plumber for low water pressure: Causes, diagnosis, and when to call a pro cover other plumbing questions you may run into.
Further reading
For more background, see the American Red Cross winter storm guidance and the Ready.gov on power outages. It is also worth reading the EPA WaterSense outdoor water use and the EPA's Fix a Leak Week guidance. You can find more detail from the International Code Council and the NFPA carbon monoxide safety. For further reading, see the Ready.gov flood preparedness.
If you would rather not sort this out alone, Emergency plumbing (burst pipes, active leaks, sewage backups) and independent local plumbers in your area can contact you directly.
Leak detection and slab leak repair and Repiping and water line services may also be useful before you decide.
Water heater repair and installation and Pricing guide: how plumbers charge and how to get a fair written quote may also be useful before you decide.
Request form: describe the problem so independent local plumbers can contact you and Where requests can be sent from: states and metros may also be useful before you decide.
About: how this referral service works may also be useful before you decide.
Conclusion
Winterizing your outdoor faucets is mostly a matter of removing attachments, shutting off the supply, draining the line, and adding sensible protection before freezing weather arrives. Inspect the plumbing as you work, and do not hesitate to call a licensed plumber when a valve, frozen line, or hidden leak makes the job unsafe or uncertain.
Frequently Asked Questions
When should you winterize outdoor faucets?
Complete the work before the first sustained freeze or whenever a sharp cold snap is expected. In colder climates, winterize in early fall; in milder areas, prepare before the first forecast below freezing.
Do you need to remove a hose from a frost-free faucet?
Yes. A connected hose can hold water in the faucet body and prevent proper drainage, even when the faucet is designed to resist freezing.
Is an insulated faucet cover enough for winter?
Usually not by itself. A cover adds protection, but you should still disconnect attachments, shut off the indoor supply when available, and drain the line.
What if there is no indoor shutoff valve?
Remove all attachments, open the outdoor faucet to release as much water as possible, and insulate the exposed fixture and pipe. If the setup remains vulnerable, have a plumber evaluate whether a shutoff can be added.
Should you leave an outdoor faucet open in winter?
The correct handle position depends on the faucet and plumbing layout. Follow the manufacturer’s instructions after the line has drained, and do not force the handle or leave a valve open if that creates another hazard.
How can you tell whether an outdoor faucet is frozen?
Weak or absent flow during a freeze, a faucet that will not open normally, frost around the fixture, or unusual pressure changes can indicate freezing. Do not use an open flame to thaw it.
What should you do if a pipe bursts after a freeze?
Shut off the main water supply if you can do so safely, avoid electrical hazards, contain or document the water damage, and call a licensed plumber. Do not turn the water back on until the plumbing has been inspected.