Plumbing inspection checklist: A step-by-step guide for homeowners and property managers
Pro US Plumbers ·
In this article
- Key Takeaways
- Prepare for a thorough plumbing inspection
- Inspect visible supply lines and pipes
- Check faucets, sinks, toilets, and fixtures
- Evaluate drains and waste lines
- Inspect the water heater and hot water system
- Assess exterior plumbing and drainage
- Document findings and prioritize repairs
- Further reading
- Conclusion
- Frequently Asked Questions
Key Takeaways
A careful plumbing inspection helps you find small problems before they become water damage, service interruptions, or urgent repairs. Use this guide room by room, and bring in a licensed professional when the issue goes beyond a safe visual check.
- Start with records, shutoff locations, and the type of plumbing system in the property.
- Inspect visible pipes, connections, fixtures, drains, and the water heater.
- Look for moisture patterns, unusual sounds, odors, pressure changes, and recurring clogs.
- Check exterior drainage and outdoor plumbing, not just the fixtures inside.
- Document each finding and prioritize active leaks, safety risks, and potential wastewater problems.
Prepare for a thorough plumbing inspection
A good inspection begins before you turn on a faucet. Walk through the property with a written plumbing inspection checklist, gather any service records, and decide which areas you can inspect safely without opening walls or disturbing equipment. If you are managing several units, use the same sequence each time so that missing information is easier to spot.
Gather tools, records, and safety equipment
Bring a flashlight, gloves, paper towels, a bucket, a phone or camera, and a notepad. Your records may include invoices, water-heater information, remodel documents, and notes about previous leaks. A flashlight and dry towel are especially useful because a slow drip may not be obvious until you inspect beneath a sink or around a valve.
Keep basic safety in mind. Do not touch electrical equipment in standing water, climb into an unsafe crawl space, or remove a panel that appears damaged. If an emergency is already under way, shut off water only if you can reach the valve safely, then contact InterNACHI or a licensed local plumber for next steps.
Identify the property’s plumbing system type
Determine whether the property receives water from a municipal supply or a private well, and note whether wastewater leaves through a public sewer or a septic system. Identify the main materials you can see, such as copper, plastic, or older metal piping. This context helps you interpret corrosion, pressure behavior, and the likely location of shutoffs or cleanouts.
For a rental or multifamily property, record which fixtures share branches or supply lines. A problem affecting several units may point to a larger system issue rather than a single failing faucet. You do not need to diagnose the cause yourself; you do need enough context to describe the pattern accurately.
Locate shutoff valves and cleanout access points
Find the main water shutoff and the smaller valves serving toilets, sinks, washing machines, and outdoor faucets. Test only valves that move freely and do not force one that is stuck or visibly corroded. Marking their locations with a simple property map can save valuable time during a leak.
Also look for drain cleanouts in basements, crawl spaces, garages, and exterior walls. Keep access points clear rather than covering them with stored items or permanent finishes. A cleanout that cannot be reached turns a manageable service call into a more disruptive one.
Note previous repairs, leaks, and recurring problems
Ask occupants or tenants about low pressure, slow drains, sewer smells, running toilets, and areas that have been repaired more than once. A fresh coat of paint or a replaced ceiling tile may hide the history of a leak, so compare what you see with maintenance records. Recurring symptoms deserve more attention than an isolated, easily corrected drip.
Write down when each problem occurs and what makes it better or worse. That timeline gives a plumber useful evidence and can reveal whether the issue follows heavy rain, simultaneous fixture use, or temperature changes.
Inspect visible supply lines and pipes
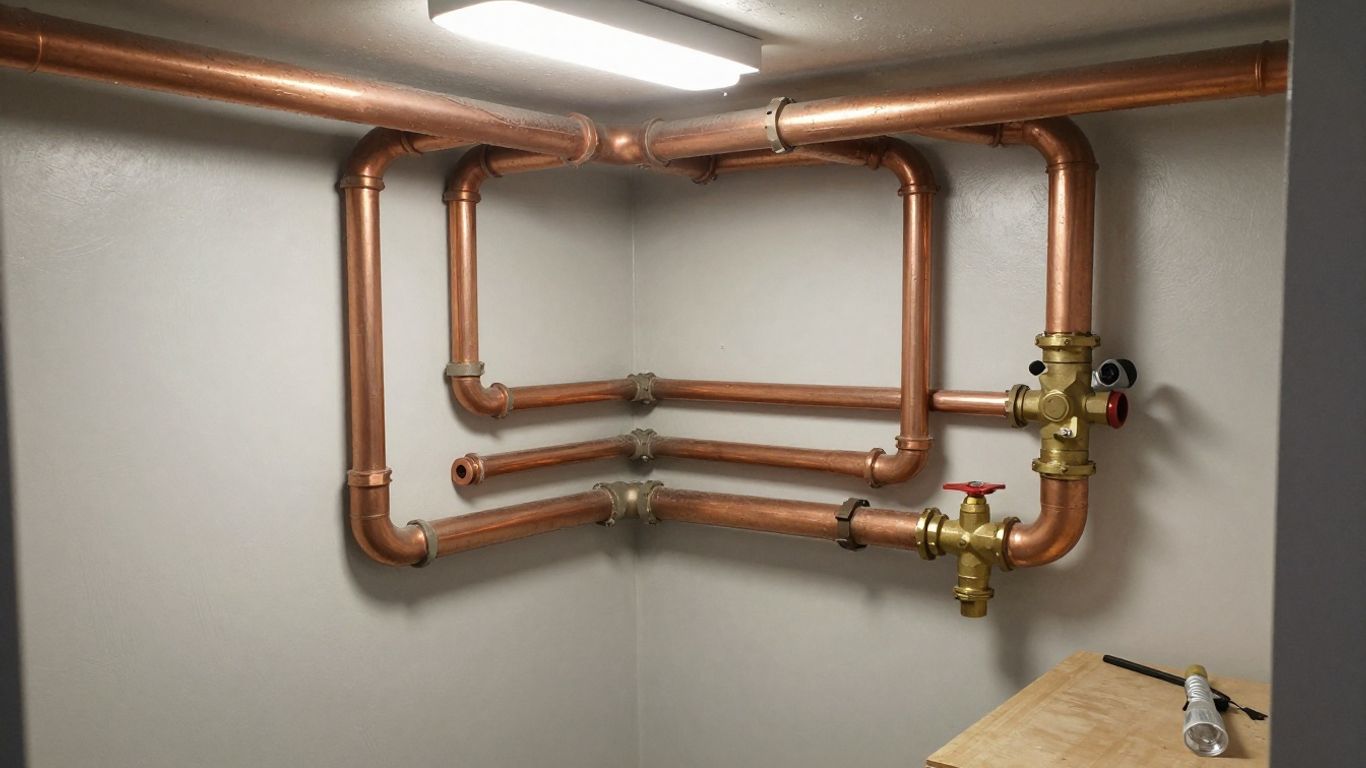
Visible supply piping provides some of the clearest clues about the system’s condition. Examine exposed runs in cabinets, basements, utility rooms, garages, and crawl spaces, but do not assume that dry surfaces prove concealed piping is sound. Moisture can travel along a pipe or framing member before it becomes visible.
Check pipes for corrosion, leaks, and damage
Use a flashlight to inspect the full length of accessible pipes. Look for green or white deposits on metal, rust, pinhole leaks, bulges, cracks, and sections that sag or rub against another surface. Run a dry paper towel around suspicious areas only when it is safe and accessible; a small wet mark can confirm a slow leak.
Pay attention to pipe penetrations through floors and walls. Movement, sharp edges, and missing supports can place stress on a line over time. Early evidence matters because a small leak may cause damage long before it becomes dramatic enough to attract attention.
Examine joints, valves, and flexible connections
Connections deserve a slower look than long, straight pipe runs. Check threaded joints, compression fittings, shutoff valves, braided supply lines, and hose connections for mineral buildup, dampness, kinks, or damaged outer coverings. A valve that is difficult to operate is also worth recording, even if it is not leaking today.
Do not tighten fittings blindly. Over-tightening can damage threads or deform a seal, while a flexible connector that is already deteriorated may need replacement rather than adjustment. Note the exact location so a professional can assess the connection efficiently.
Look for water stains, mold, and moisture
Inspect the underside of cabinets, the flooring around toilets, the ceiling below bathrooms, and the walls near tubs or showers. Staining, swollen wood, peeling paint, musty smells, or mold-like growth can indicate a past or active moisture problem. The pattern matters: a ring around a pipe penetration suggests a different investigation than staining spread across a ceiling.
Photograph evidence before cleaning or repainting. If moisture is present near wiring, outlets, or electrical equipment, keep clear and arrange prompt professional help rather than continuing the inspection.
Evaluate pipe insulation and freeze protection
Look for insulation on pipes in unheated garages, attics, crawl spaces, and exterior walls. Missing or damaged insulation can leave supply lines more exposed to freezing temperatures and condensation. Check that insulation is intact without trapping moisture against a leaking pipe.
During cold weather, protect vulnerable areas according to local practice and the property’s design. Outdoor faucets, exposed service lines, and poorly sealed penetrations deserve particular attention. A professional can advise on repairs when the pipe is concealed or the freeze risk is significant.
Check faucets, sinks, toilets, and fixtures
Fixtures translate system problems into symptoms you can often observe directly. Test them one at a time, then consider what happens when more than one fixture operates. A faucet that works well alone but loses flow when another fixture runs may point to a supply or pressure issue that deserves further investigation.
Test water pressure and flow at each faucet
Open cold and hot water separately at kitchen, bathroom, laundry, and utility-room faucets. Notice weak flow, sputtering, unusual discoloration, or a delay before hot water arrives. If you have a pressure gauge and know how to use it safely, record the reading at an appropriate hose connection, but do not treat one reading as a complete diagnosis.
Compare fixtures rather than relying on memory. A single weak faucet may have a clogged aerator, while several weak fixtures suggest a broader issue. Record when the pressure changes and whether appliances or other bathrooms were operating at the time.
Inspect faucets and supply connections for leaks
Look around faucet bases, handles, escutcheons, shutoff valves, and supply connections while the fixture is running and after it is turned off. Dry the area first, then check for fresh moisture. A leak that appears only during use may come from a connection or seal rather than the visible body of the faucet.
Check beneath the sink as well as above it. Stored cleaning products can conceal a drip, and repeated dampness can damage cabinet floors before the leak is obvious from the room.
Check toilets for running water and unstable bases
Listen after the toilet tank refills. Water that continues to run, cycles without use, or moves visibly in the bowl may indicate a worn internal component or another adjustment issue. Gently check whether the bowl rocks, but do not force it; movement at the base can damage the seal or floor.
Look for staining around the base, supply connection, and nearby flooring. A toilet that is loose, leaking, or backing up should be taken seriously, particularly where wastewater may be involved.
Examine sinks, tubs, and showers for drainage issues
Fill a sink or tub partway, then observe how quickly it drains and whether water rises around another fixture. Check shower floors and tub surrounds for standing water, soft areas, cracked caulk, or signs that water is escaping behind the finished surface. Do not use harsh chemicals simply to test a drain, especially if a professional may need to work on it soon.
A fixture can drain acceptably while still showing a developing problem. Note gurgling, repeated backups, or water that returns after nearby fixtures run, and include those details in your service request.
Evaluate drains and waste lines
Drainage problems often develop gradually, so the inspection should focus on patterns instead of one successful flush. Test fixtures at different times and listen for sounds that suggest air movement or restricted flow. If several drains show symptoms together, the issue may be farther downstream than any single trap.
Test drain speed and identify recurring clogs
Run enough water to observe the drain without creating an overflow risk. Record slow fixtures, drains that improve and then worsen, and clogs that return after temporary clearing. Ask occupants which products or rooms are associated with the problem, but avoid assuming that a familiar symptom has only one cause.
For a property manager, a simple log can reveal whether a unit has a recurring branch-line issue or whether the same main drain affects multiple spaces. That history is more useful than a vague note that the drain is “bad.”
Inspect traps, cleanouts, and accessible waste pipes
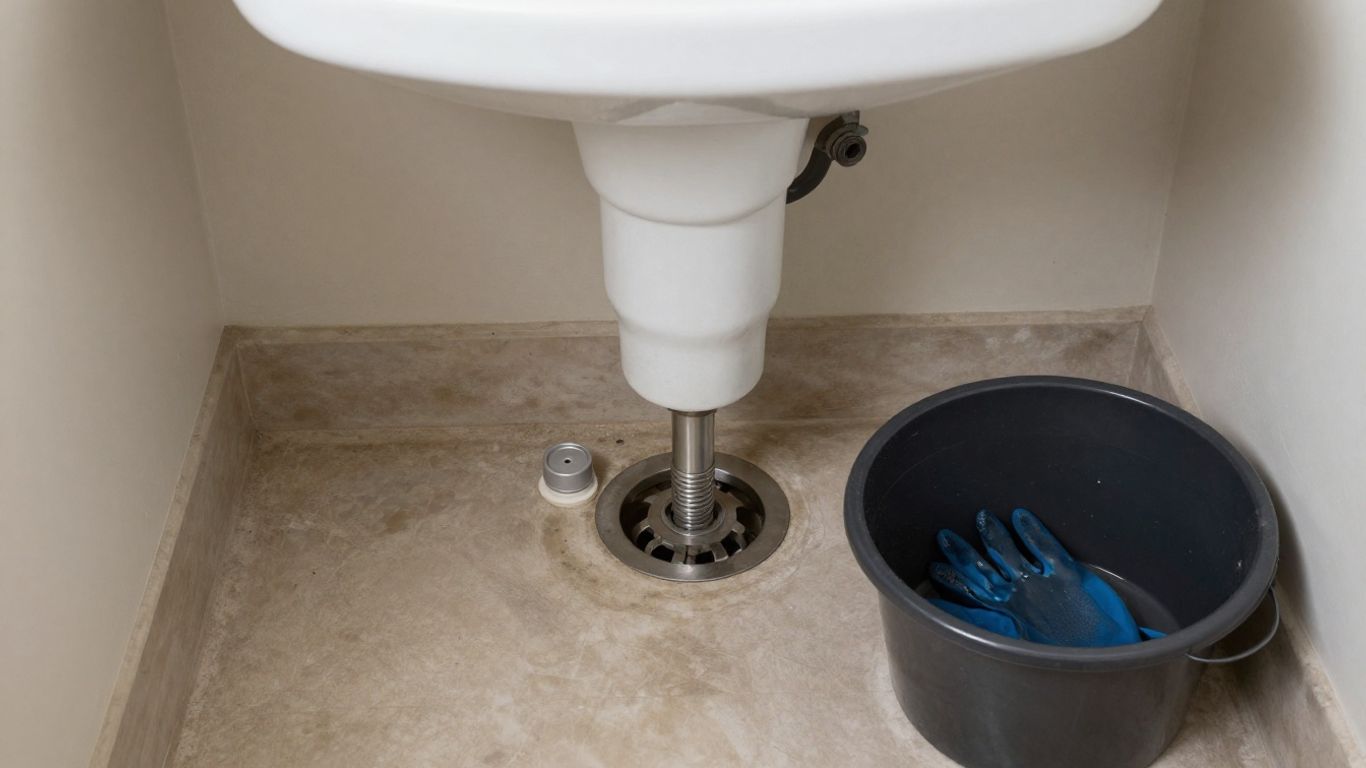
Look beneath sinks for leaking traps, loose connections, improper slopes, and signs of past repairs. Inspect accessible waste pipes for staining, corrosion, sagging, or unsupported sections. Keep cleanouts visible and make sure caps are present and not damaged.
Never open a questionable cleanout without considering what may be behind it. A backed-up line can release wastewater under pressure. If you see active leakage, sewage, or a damaged fitting, stop and arrange professional service.
Watch for sewer odors and gurgling sounds
Persistent sewer odor is not normal, even if it fades after ventilation. Check whether the smell is strongest near a rarely used drain, a floor drain, a cleanout, or a toilet. Gurgling after a flush or when a washing machine drains may indicate restricted flow, venting trouble, or a developing backup.
Use your observations to describe timing and location. Odor alone does not identify the cause, but odor combined with slow drainage or bubbling gives a plumber a clearer starting point.
Assess signs of backflow or wastewater backups
Look for dirty water around floor drains, low fixtures, cleanouts, or basement plumbing. Staining at the same height on walls or stored items can show how far a prior backup reached. Treat wastewater as a health concern and avoid direct contact.
The following signs should move to the front of your repair list:
- Wastewater rising from a floor drain or fixture.
- Several fixtures backing up at the same time.
- Sewage odor paired with slow or stopped drainage.
- Repeated backups despite short-term clearing.
These symptoms call for prompt professional assessment rather than repeated chemical treatments. Pro US Plumbers connects homeowners with independent plumbers in their area. The plumbers you hear from are independent businesses, not employees or agents of ours, so confirm each one’s license and insurance yourself before you hire.
Inspect the water heater and hot water system
A water heater combines plumbing, heat, pressure, and sometimes fuel or combustion components, so use extra caution. Your visual inspection should focus on condition, access, and warning signs rather than repairs inside the tank or burner compartment. Keep the area around the equipment clear so a technician can work safely.
Verify the heater’s age, condition, and capacity
Find the serial and model information, installation date if available, and tank capacity. Compare the household’s demand with the symptoms being reported: insufficient hot water may reflect capacity, settings, sediment, a failed component, or a supply issue elsewhere. Record the information rather than guessing the heater’s remaining service life.
For a rental property, note the unit serving each space and whether access is shared. Clear identification can shorten a service visit when several heaters are present.
Check temperature, pressure, and relief components
Observe whether hot water reaches fixtures consistently and whether temperatures fluctuate unexpectedly. Do not adjust temperature controls casually, and never block, cap, or tamper with a temperature-and-pressure relief valve or its discharge piping. Signs of discharge, corrosion, or a missing component require professional attention.
Keep children and occupants away from exposed hot surfaces and leaking equipment. If the tank is actively releasing hot water or pressure, leave the area and seek urgent help.
Look for tank leaks, corrosion, and sediment buildup
Inspect the tank body, fittings, drain valve, and the floor beneath the heater. Rust, pooling, damp insulation, rumbling, or popping noises can indicate deterioration or sediment. A small fitting leak may be repairable, while water emerging from the tank itself can signal a more serious failure.
Do not drain or service the unit unless you understand the equipment and can do so safely. Photograph labels and visible conditions from a safe distance so a professional can prepare for the visit.
Review venting, fuel connections, and clearance requirements
Gas-fired equipment needs appropriate venting, combustion air, and clearance, while electric equipment still needs safe electrical access and adequate working space. Look for damaged vent sections, unusual discoloration, blocked openings, or fuel odors. Never test a suspected gas leak with a flame.
If you smell gas, leave the property and contact the appropriate emergency service from a safe location. A licensed professional should evaluate fuel connections, venting, and code-related concerns.
Assess exterior plumbing and drainage
Water problems outside can affect the building just as surely as a leaking indoor pipe. Walk the perimeter after normal water use and, when possible, after rainfall. Exterior observations are especially useful for property managers because drainage patterns may change between visits.
Inspect outdoor faucets and hose connections
Check hose bibs, vacuum breakers, shutoff valves, and exposed connections for drips or cracks. Make sure hoses are not left attached where freezing conditions could damage the fixture. A faucet that leaks only when a hose is connected still belongs on the inspection record.
Look at the wall penetration from inside and outside. Dampness, staining, or gaps around the connection can allow water into the structure even when the faucet itself appears sound.
Check irrigation lines and backflow prevention devices
Run irrigation zones briefly and look for broken heads, unusually wet soil, pooling, or areas that remain greener than their surroundings. Locate backflow prevention devices and check for visible damage or leakage. Testing and servicing these devices may require a qualified professional or local compliance process.
Do not bury or obstruct valves and access covers. Clear access makes seasonal maintenance and emergency shutoff much easier.
Examine sewer cleanouts and underground access points
Inspect exterior cleanout caps, access boxes, and areas where sewer lines leave the building. Missing caps, settled soil, roots, or repeated wet spots can justify a closer evaluation. Avoid digging near buried utilities unless their locations are confirmed.
If a cleanout is overflowing or wastewater is surfacing, keep people and pets away. The location and timing of the overflow are valuable details for the plumber who responds.
Evaluate grading, pooling water, and foundation drainage
After rain or routine watering, watch where water collects. Soil that slopes toward the foundation, blocked area drains, overflowing gutters, and saturated ground near basement walls can increase moisture problems. Note whether pooling is new, seasonal, or present after every storm.
Drainage corrections may involve more than plumbing, so separate what you observed from what you believe caused it. A clear description helps the right professional evaluate the property without starting from an assumption.
Document findings and prioritize repairs
An inspection is most useful when another person can understand it later. Record the location, symptom, date, and apparent severity for every issue, even if you decide to monitor it. Photos should show both the close-up condition and the wider room or fixture so the location is unmistakable.
Separate urgent safety issues from routine maintenance
Urgent concerns include active flooding, sewage exposure, suspected gas leaks, water near electrical equipment, burst or severely damaged piping, and a water heater releasing hot water or pressure. Routine items may include a stiff valve, minor corrosion without active leakage, missing insulation, or a slow fixture that has not yet backed up. When you are unsure, treat safety and wastewater concerns as urgent.
Use a short priority label such as emergency, prompt repair, scheduled maintenance, or monitor. This keeps a long report from making every issue sound equally serious.
Estimate repair scope, cost, and potential consequences
You may not be able to price a repair accurately from a visual inspection, but you can describe its likely scope. Note whether the issue is isolated or affects several fixtures, whether access is open or concealed, and whether water damage is already present. Those details help a plumber explain the work and any diagnostic or trip fees before dispatch.
Pro US Plumbers is a referral service: it puts your request in front of independent plumbers who work nearby. That is useful when you need immediate help, but you should still provide clear photos and symptoms so the initial conversation is grounded in what you observed.
Record photos, locations, and recommended actions
Use consistent file names or notes, such as “hall bathroom toilet base” or “basement main shutoff.” Pair each image with a short action: repair, test, monitor, replace, or obtain professional evaluation. Keep invoices and follow-up photos with the original inspection record.
For larger properties, a shared maintenance log can show which problems repeat and whether a repair solved the underlying symptom. Good documentation protects your time and makes handoffs less confusing.
Know when to call a licensed plumbing professional
Call promptly for active leaks you cannot control, sewer backups, suspected gas leaks, no water throughout the property, persistent loss of hot water, or any problem involving unsafe access. A professional can perform tests and repairs that are not appropriate for a homeowner’s visual checklist. Pro US Plumbers can put your job in front of independent plumbers locally.
Before the visit, gather your notes, photos, shutoff information, and records of previous work. Ask what the visit includes, whether a diagnostic or trip fee applies, and when you can expect an estimate for additional repairs.
Related articles
Plumber for low water pressure: Causes, diagnosis, and when to call a pro and Under slab leak detection: How to find, confirm, and address leaks beneath concrete cover other plumbing questions you may run into.
Further reading
For more background, see the American Society of Home Inspectors and the EPA's Fix a Leak Week guidance. It is also worth reading the EPA on reducing lead exposure at home and the International Code Council. You can find more detail from the IAPMO, which publishes the Uniform Plumbing Code and the FTC consumer advice. For further reading, see the Better Business Bureau.
If you would rather not sort this out alone, Leak detection and slab leak repair and independent local plumbers in your area can contact you directly.
Repiping and water line services and Drain cleaning and sewer services may also be useful before you decide.
Septic system services and Pricing guide: how plumbers charge and how to get a fair written quote may also be useful before you decide.
Request form: describe the problem so independent local plumbers can contact you and Where requests can be sent from: states and metros may also be useful before you decide.
About: how this referral service works may also be useful before you decide.
Conclusion
A plumbing inspection is less about checking boxes than building a reliable picture of how water enters, moves through, and leaves your property. Work methodically, document what you see, and treat active leaks, sewage, gas, and electrical hazards as reasons to stop and call a licensed professional. A clear inspection record can make the next repair faster, safer, and easier to price.
Frequently Asked Questions
How often should you inspect your plumbing system?
A basic visual review every few months is useful, with a more thorough inspection annually or when you buy, sell, renovate, or notice recurring symptoms. Older properties and rental buildings may need more frequent checks based on their condition and use.
What should you inspect first during a plumbing inspection?
Start with the main shutoff, visible supply lines, areas showing moisture, and fixtures with known problems. Then move through drains, the water heater, and exterior drainage so urgent issues are identified early.
Can you perform a plumbing inspection yourself?
You can safely perform many visual checks and basic fixture tests if you avoid electrical, gas, wastewater, confined-space, and pressurized hazards. A licensed professional is needed for concealed leaks, unsafe equipment, complex diagnostics, and repairs outside your experience.
What are signs of a hidden plumbing leak?
Unexplained water bills, musty odors, staining, peeling paint, warped flooring, mold-like growth, or a water meter that moves when fixtures are off can indicate a hidden leak. The source may be some distance from the visible damage.
How do you know whether a drain problem is serious?
Recurring clogs, several slow fixtures, gurgling, sewer odors, wastewater, or backups from floor drains deserve prompt attention. These signs can indicate a larger waste-line or venting problem rather than an isolated sink blockage.
When should you replace a water heater?
Replacement may be worth discussing when the tank leaks, corrosion is extensive, hot water is unreliable, or repairs are recurring and costly. Have the unit evaluated so its condition, capacity, installation, and available repair options can be considered together.
What information should you give a plumber before an appointment?
Share the affected fixtures, when the issue began, what makes it better or worse, whether water or wastewater is actively present, and any shutoff or access details. Photos, service records, and information about previous repairs can also help the plumber prepare.