In this article
- Key Takeaways
- Understand when a toilet flange repair kit is the right solution
- Compare the main types of toilet flange repair kits
- Choose a kit that matches your toilet and plumbing
- Prepare for a toilet flange repair
- Install a toilet flange repair kit correctly
- Test the repair and prevent future flange problems
- Further reading
- Conclusion
- Frequently Asked Questions
Key Takeaways
A sound diagnosis helps you avoid replacing a flange that only needs support. These steps will help you choose and install toilet flange repair kits with fewer surprises.
- Confirm whether the flange is damaged, loose, too low, or beyond repair.
- Match the kit to the flange material, bolt pattern, and floor height.
- Inspect the subfloor before covering a leak or unstable drain connection.
- Secure the repair ring firmly and align the closet bolts before setting the toilet.
- Test for rocking and leaks, and call a plumber when the damage extends below the floor.
Understand when a toilet flange repair kit is the right solution
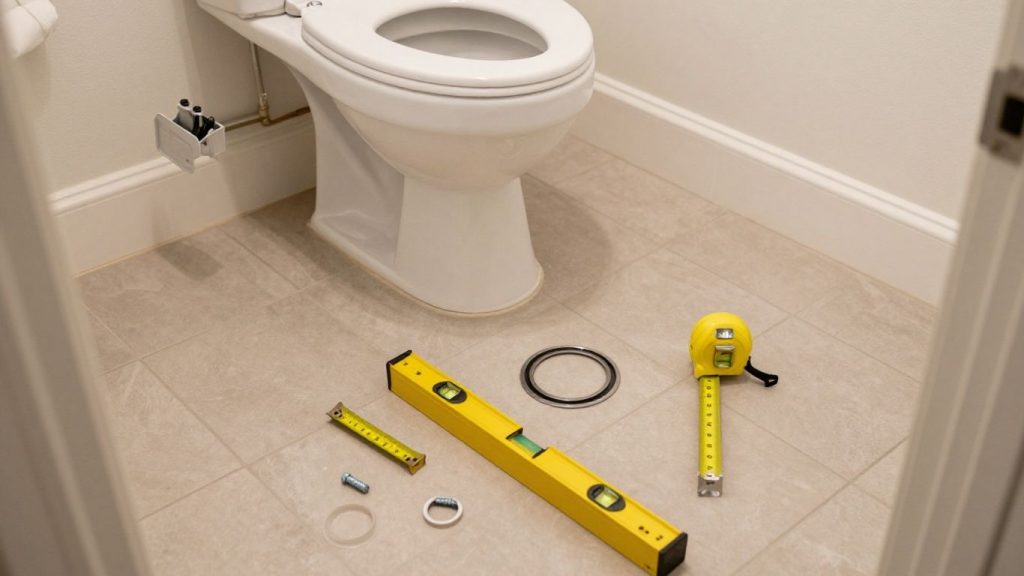
A toilet flange holds the bowl to the floor and provides the mounting point for the closet bolts and toilet seal. When it cracks, loosens, or sits too low, the toilet may move or leak even if the bowl itself looks fine. Before you buy a kit, identify whether you are repairing a mounting surface or trying to correct a deeper drain or floor problem.
Signs of a damaged or failing toilet flange
A toilet that rocks, develops a recurring leak at its base, or has closet bolts that will not stay positioned may have a damaged flange. You may also see a cracked metal ring, broken bolt slots, missing screws, or rust around the mounting area. A musty or sewer-like odor can point to a failed seal, although odor alone does not prove that the flange is the source.
Lift the bolt caps and look closely without forcing the bowl. If the flange moves with the toilet, the subfloor may be damaged or the flange may not be anchored securely. A careful inspection saves time because a new seal cannot compensate for a loose structural connection.
When a repair ring is enough
A repair ring is often suitable when the drain connection remains intact but part of the flange ring or its bolt track is cracked or missing. The ring restores a usable mounting surface by bridging the damaged area and transferring bolt pressure to sound material or the floor, depending on the kit design. You still need enough solid material around the drain for the ring to sit flat.
A product such as the EPA WaterSense showerhead information is documented as a way to repair broken, cracked, or worn-out mounting flanges without replacing the entire flange. Its adjustable bolt slots are intended to help with alignment during installation. Use the product instructions for the specific fasteners and sealing method rather than assuming every repair ring installs identically.
Situations that require flange replacement
Replacement is more likely when the drain connection itself is broken, the flange is badly corroded, the pipe has separated, or the flange sits so far below the finished floor that a repair ring cannot provide reliable support. A ring also will not solve a soft or water-damaged subfloor. In those cases, the toilet may remain unstable even after the visible flange damage is covered.
You may need to open the floor to reach the drain assembly. That is a different project from installing a surface repair ring, and it can involve cutting, joining, or supporting drain pipe. If you cannot see how the flange connects to the drain, stop before removing parts that could leave the toilet unusable.
How leaks, rocking, and sewer odors affect the diagnosis
A leak appearing only when you flush often points toward the seal or the flange area, while water that spreads from a supply connection or tank should be diagnosed separately. Rocking puts repeated stress on the wax ring and mounting hardware, so replacing the seal without correcting movement usually leads to another failure. Sewer odor may indicate an incomplete seal, an open drain connection, or a different plumbing vent issue.
Treat these symptoms as related clues rather than a single diagnosis. Dry the area, flush several times if safe, and observe where moisture first appears. If wastewater has reached the subfloor, you should also check for swelling, softness, and hidden damage before installing a repair kit.
Compare the main types of toilet flange repair kits
Toilet flange repair kits vary from simple reinforcement rings to packages that replace damaged mounting components and include new hardware. The right category depends on what remains usable, not just on the material shown in the product photo. Compare the repair surface, fastening method, and intended flange condition before choosing.
Metal repair rings for added strength
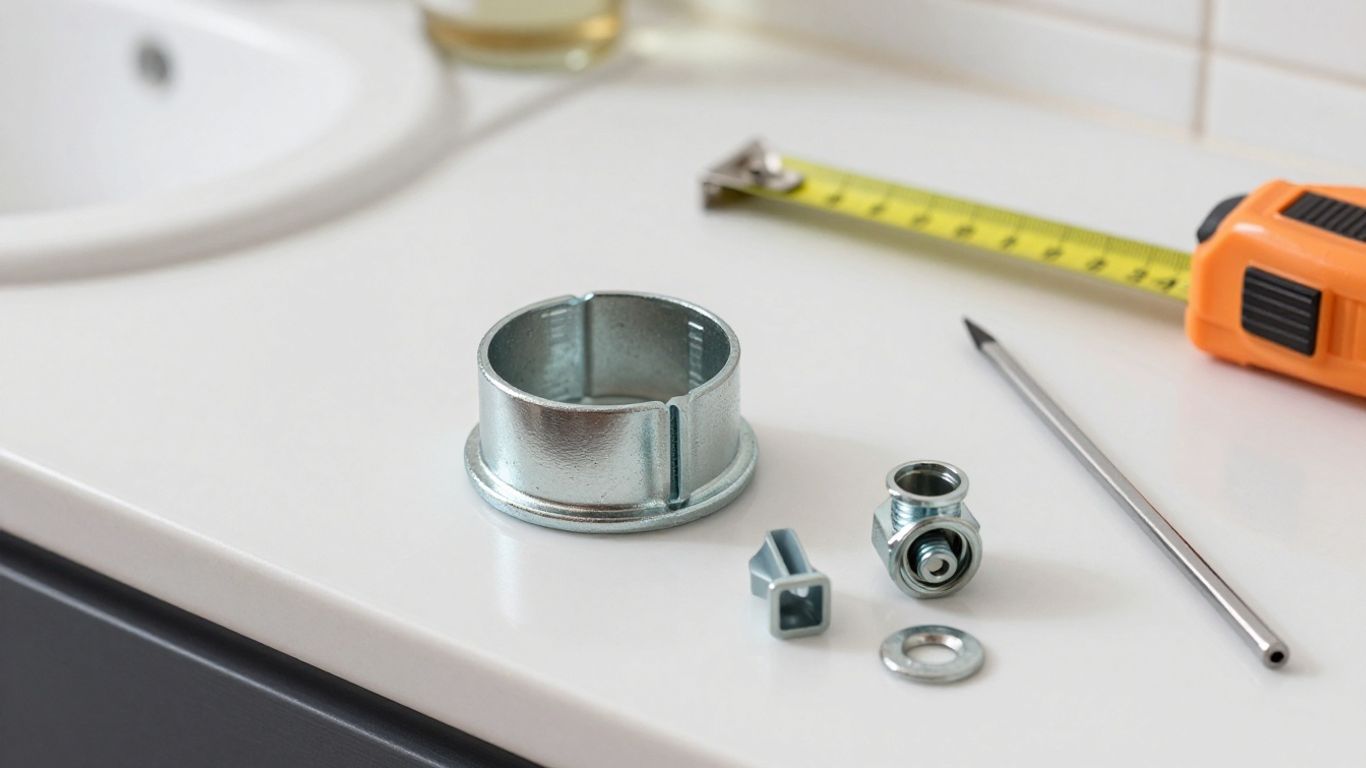
Metal rings can provide a firm mounting surface when the original flange rail is cracked or a bolt slot has failed. They are useful where the existing flange and drain are otherwise sound, but they must be installed flat and supported properly. Check whether the ring is intended to anchor to the floor, attach to the existing flange, or use both methods.
The International Code Council is described as a universal metal repair kit for common toilet flange issues. That makes it a possible category match when you need a metal repair component, but you should still verify dimensions and installation details against your toilet and existing flange.
PVC and plastic replacement components
Plastic components can be a practical match for PVC or ABS systems when the damaged part is compatible with the drain assembly. They may be used for replacement flanges or related components, but the connection method matters: a glued fitting, mechanical connection, and surface repair ring are not interchangeable. Avoid selecting a plastic part solely because the visible flange is plastic.
Look for the pipe size, connection style, and finished-floor requirements in the instructions. If the old flange is solvent-welded or embedded under the floor, replacing it may require more access than a repair ring provides. A mismatch can leave the drain unsupported or create a new leak path.
Full repair kits for broken or missing bolt slots
A full kit can make sense when the flange is mostly present but the mounting slots, rails, or hardware are damaged in several places. Some packages include a repair ring, closet bolts, washers, nuts, or a replacement sealing component. Read the contents carefully because “full kit” does not always mean the same collection of parts.
A kit should restore stable bolt placement without forcing the toilet into a new position. If the bowl cannot sit centered over the drain after the ring is installed, stop and correct the alignment before tightening anything. A crooked installation can stress the seal and make future service harder.
Options for cast iron, ABS, and PVC drain systems
Cast iron, ABS, and PVC each present different repair conditions. A repair product documented for cast iron, PVC, and ABS flange rails may be a useful option when the rails are cracked but the drain connection remains serviceable; for example, the IAPMO, which publishes the Uniform Plumbing Code is described for those three flange materials and adjusts to 3- and 4-inch flanges. Its source also states limits involving very low flanges and certain rusted metal rings, so those restrictions need to remain part of your decision.
Use the kit’s stated compatibility rather than guessing from color or outside diameter. If the pipe is corroded, badly offset, or damaged below the flange, a surface repair may not be enough. When in doubt, expose enough of the connection to identify the material and condition before ordering parts.
Choose a kit that matches your toilet and plumbing
Measurements matter more than a universal label. You need the flange and drain dimensions, the toilet’s bolt spacing, the finished floor height, and the material of the existing assembly. Taking those measurements before shopping reduces the chance of discovering that the new ring blocks the bowl or leaves the bolts too far apart.
Measuring the flange and drain opening
Remove debris and measure the visible flange and the drain opening without cutting anything. Record the approximate outside diameter, inside opening, and the distance from the drain center to each closet-bolt position. Also note whether the flange is round, partially broken, distorted, or covered by flooring.
Do not use the toilet’s rough-in measurement as a substitute for flange measurements. The rough-in describes the distance from the finished wall to the drain center, while a repair kit needs details about the mounting ring and bolt locations. Product diagrams are helpful, but your actual opening and hardware determine fit.
Checking toilet bolt spacing and slot design
Closet bolts need to slide into the repair ring and remain upright while you lower the bowl. Compare the slot shape and adjustment range with the toilet base before fastening the ring. Elongated slots can offer more positioning flexibility, but they still need to hold the bolts securely once the nuts are tightened.
Inspect the old bolts for rust or damaged threads. Reusing questionable hardware can make alignment and final tightening difficult, even when the repair ring is sound. Keep the bolt heads seated in the slots while you test-fit the bowl, then confirm the bowl is centered before applying the seal.
Matching the kit to the finished floor height
The flange’s position relative to the finished floor affects the seal and the amount of bolt engagement. Tile, vinyl, or a replacement subfloor may have changed the height since the original toilet was installed. Measure from the top of the finished floor, not from exposed subfloor beneath the toilet.
A low flange may need a repair system designed for that condition, while a high flange can prevent the bowl from sitting flat. Shims may help with minor rocking, but they do not replace a flange that is structurally loose or an uneven floor that needs correction. Follow the stated height range for the kit you select.
Confirming material compatibility and corrosion resistance
Match the repair component to the existing flange and drain system, then consider the conditions under the toilet. Persistent moisture and old hardware can accelerate corrosion, especially where metal is exposed. A corrosion-resistant component may be appropriate, but it still has to be mechanically compatible with the flange and floor.
Use this quick comparison as a starting point, not a substitute for the manufacturer’s instructions:
| Existing condition | Usually points toward | Check before buying |
|---|---|---|
| Sound drain, broken rail | Surface repair ring | Ring support and bolt slots |
| Plastic flange with damaged mounting area | Compatible plastic or metal repair component | Pipe material and fastening method |
| Rusted or separated drain connection | Flange or drain replacement | Access below the floor |
| Low flange with intact drain | Low-flange repair system | Stated height range |
The table separates mounting damage from drain damage, which is the key distinction. If the drain connection is failing, choose a repair plan that reaches that connection rather than relying on a ring placed above it.
Prepare for a toilet flange repair
Preparation is where you prevent a short repair from becoming a larger cleanup. Shut off and drain the toilet, protect the floor, and make sure you can inspect the flange and subfloor clearly. If the toilet is in an occupied property, plan for the bathroom to remain out of service until the seal has been tested.
Tools and supplies to gather
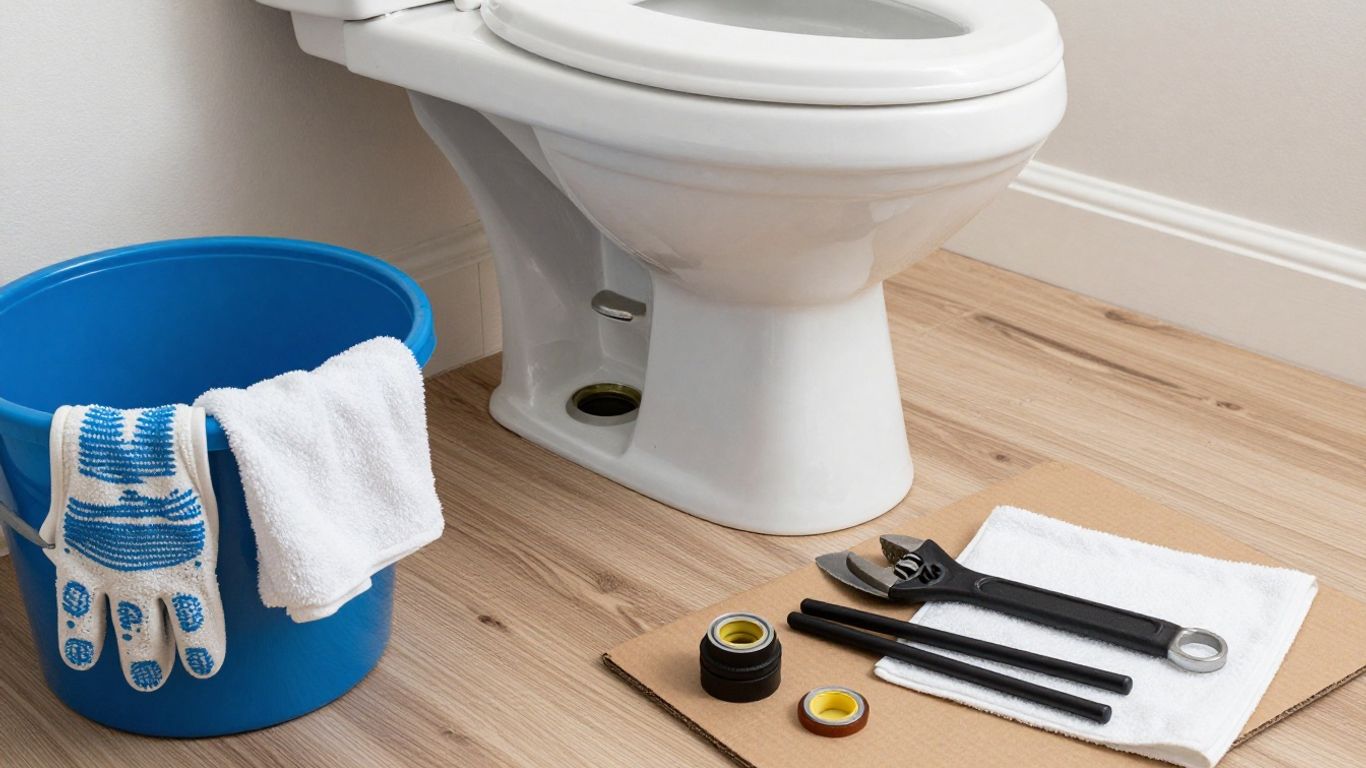
Gather the tools that match the existing fasteners and the kit instructions. You may need an adjustable wrench, screwdriver or driver, scraper, pliers, bucket, sponge, gloves, disinfectant, replacement closet bolts, a new wax ring or compatible wax-free seal, and a level. Have towels or a temporary drain cover ready for the exposed pipe.
A compact supply check helps you avoid leaving the drain open while you search for one missing item:
- Adjustable wrench and the correct driver bit
- Scraper, rags, gloves, and a bucket
- Replacement seal and closet-bolt hardware
- Drill, fasteners, and a level if the kit requires floor anchoring
Once everything is within reach, read the kit instructions before removing the old seal. Some components must be installed in a particular order, and the required fastener type may differ from what you find under the toilet.
How to shut off water and remove the toilet
Close the shutoff valve, flush the toilet, and hold the handle down to drain the tank and bowl as much as possible. Disconnect the supply line with a bucket underneath, then remove the bolt caps and nuts. Rock the toilet gently only enough to break the seal; do not twist it aggressively against a damaged flange.
Lift the bowl with help if needed and place it on cardboard or a protected surface. Scrape away the old wax and cover the open drain temporarily so tools and debris cannot fall inside. If the flange rises with the toilet or fragments break away during removal, pause and reassess the repair scope.
Inspecting the subfloor and surrounding drain
Look for soft wood, dark staining, swelling, or gaps around the flange. Press carefully around the mounting points with a screwdriver handle, not the sharp tip, to identify obvious softness. Check whether existing screws still bite into solid material and whether the flange sits flat against the finished floor.
Also inspect the drain connection for cracks, separation, or movement. A ring can reinforce a mounting rail, but it cannot stabilize a pipe that shifts below the floor. Photographing the area before cleaning can help you remember the original bolt orientation and document damage if you decide to call a plumber.
Cleaning and drying the flange area
Remove old wax completely from the flange and the underside of the toilet. Scrape gently so you do not damage a sound plastic flange, then wipe away dust, grease, and moisture. The repair ring must sit flat, and floor fasteners need a clean surface to hold properly.
Let the area dry before measuring or applying a seal. If water keeps returning after the supply is shut off, find its source rather than sealing over it. A dry, visible work area makes it much easier to distinguish an old stain from an active leak.
Install a toilet flange repair kit correctly
Installation should restore a stable mounting surface without narrowing the drain opening or shifting the toilet’s centerline. Dry-fit the parts first, follow the supplied fastener pattern, and keep the repair ring level with the finished floor. Work slowly around the alignment points because a small error becomes difficult to correct after the seal is compressed.
Positioning the repair ring over the existing flange
Place the ring over the existing flange and align its opening with the drain. The bolt slots should match the toilet’s original orientation, usually with one bolt on each side of the bowl. Check that the ring lies flat and does not rock before marking any screw locations.
If tile or another floor finish interferes with the ring, do not force it into place. A small adjustment may be possible when the instructions allow it, but cutting away support or covering the drain opening can weaken the repair. Test-fit the toilet with the bolts in place before applying the new seal.
Securing the ring to the subfloor
Use only the fasteners and locations permitted by the kit instructions. Drill pilot holes where required, avoiding the drain pipe, wiring, and hidden utilities. Tighten the screws gradually in alternating positions so the ring stays flat instead of bowing upward.
If the floor is soft, screws may not hold even when the ring appears tight. Repair the subfloor or add suitable solid support before proceeding. The fasteners should secure the ring without deforming it or pulling it away from the finished floor.
Installing closet bolts and aligning the toilet
Slide the closet bolts into the ring slots and orient them so the threaded ends rise straight up. Use washers or retaining hardware supplied with the kit, then place the toilet near the opening and check the fit without pressing it into the seal. Confirm that the bowl is centered and that both bolts pass through the base openings.
Alignment is easier with a helper guiding the bowl. Keep your fingers clear as the bowl lowers, and avoid dragging it across a fresh wax ring. Once the base is down, add washers and nuts by hand before tightening either side.
Setting a new wax ring or wax-free seal
Set the new wax ring or wax-free seal according to its instructions and the flange height. Lower the bowl straight down, using the bolts as guides, then press firmly enough to seat the seal without rocking the toilet from side to side. A seal that is lifted, twisted, or reused may not close the drain reliably.
Some systems combine flange repair with a reusable, wax-free seal. The One N Done 400MB Flange Repair Kit is described as combining a repair ring with a self-adjusting reusable wax-free seal, locking metal bolts, and shims; its documented fit range is approximately one-eighth inch above to one and a half inches below the finished floor. Treat those details as product-specific and verify that your flange position falls within the stated range.
After the bowl is seated, tighten the nuts gradually and trim or cap the exposed bolts if appropriate. Do not use the nuts to pull a visibly uneven toilet down against the floor; correct the support first, then finish the seal and hardware installation.
Test the repair and prevent future flange problems
A repair is not finished when the toilet looks centered. You still need to check movement, run water through the bowl, and inspect the floor and supply connection. Testing immediately gives you a chance to correct a small alignment issue before moisture reaches the subfloor.
Checking for rocking and uneven support
Sit carefully on the toilet or apply gentle side pressure while watching the base. A properly supported bowl should not shift noticeably. Minor movement caused by an uneven floor may be corrected with suitable toilet shims, but shims should not conceal a loose flange or damaged subfloor.
Check the gap around the base and confirm that the seal has not pushed the bowl off center. If the toilet rocks after the nuts are snug, loosen the hardware only as needed and determine whether the floor, flange, or bowl is uneven. Repeated movement will eventually stress the seal again.
Testing for leaks after installation
Turn the water supply on slowly and let the tank fill. Flush several times while watching the base, supply connection, shutoff valve, and tank area with a dry paper towel. Look for fresh moisture rather than relying only on whether you can see a steady drip.
Leave the area exposed for a while and check again after the toilet has been used. A leak that appears only during flushing deserves prompt attention because it may be coming from the bowl-to-drain seal. If water reaches the subfloor, stop using the toilet until the source is corrected.
Tightening toilet bolts without cracking the base
Tighten each nut a little at a time, alternating sides so the pressure remains even. Stop when the bowl is stable and the washers are seated; porcelain can crack when hardware is overtightened. The nuts hold the bowl in position, but they should not force a badly uneven base into place.
After the first few uses, check the nuts and caps again. Do not keep tightening just because the bolt threads extend above the nut. If the bowl begins to move, diagnose the support problem instead of applying more torque.
Knowing when to call a professional plumber
Call a licensed plumber when the drain connection is broken, the subfloor is soft, the flange is inaccessible, or wastewater damage extends beneath the finished floor. You should also get help if the toilet cannot be removed without disturbing a fragile pipe or if the replacement requires cutting and reconnecting drain material. A quick assessment can prevent a failed repair and a larger water-damage bill.
When you request service, ask what the diagnostic or trip fee is, what work the quoted price includes, and whether the plumber is licensed and insured. Clear answers matter during an emergency, but they are just as useful when you are planning a bathroom repair. A professional can also confirm whether a repair ring is suitable before you purchase parts.
Related articles
Plumber toilet repair: A complete guide to diagnosing problems and choosing the right fix and Shower valve repair: How to diagnose leaks, replace parts, and restore water control cover other plumbing questions you may run into.
Further reading
For more background, see the InterNACHI and the American Society of Home Inspectors. It is also worth reading the FTC consumer advice and the Better Business Bureau. You can find more detail from the National Association of Home Builders.
If you would rather not sort this out alone, Fixtures and appliance plumbing (faucets, showers, disposals) and independent local plumbers in your area can contact you directly.
Bathroom and kitchen plumbing and Drain cleaning and sewer services may also be useful before you decide.
Pricing guide: how plumbers charge and how to get a fair written quote and Request form: describe the problem so independent local plumbers can contact you may also be useful before you decide.
Where requests can be sent from: states and metros and About: how this referral service works may also be useful before you decide.
All plumbing service lines may also be useful before you decide.
Conclusion
Toilet flange repair kits work best when the drain connection is sound and the problem is limited to the mounting surface. Measure carefully, inspect the floor, install the ring flat, and test the finished toilet before closing up the area. When the damage extends below the flange or the floor cannot support the repair, bring in a licensed plumber rather than forcing a quick fix.
Frequently Asked Questions
Can a toilet flange repair kit fix a low flange?
Some kits are designed for low flange positions, but each product has a stated height range. Measure from the finished floor and choose a system that specifically accommodates that measurement.
How do you know whether a toilet flange needs replacement?
Replacement is more likely when the drain connection is cracked, separated, badly corroded, or unstable below the floor. A surface repair ring is generally intended for damaged mounting areas with an otherwise usable drain connection.
Should you replace the wax ring during a flange repair?
Yes. Removing the toilet breaks the original seal, so install a new wax ring or a compatible wax-free seal during reassembly. Do not reuse a compressed or contaminated seal.
Why does a toilet still rock after a flange repair?
Rocking can come from an uneven floor, an improperly seated repair ring, a loose flange, or a damaged subfloor. Shims may correct minor floor irregularities, but they should not hide structural movement.
How tight should toilet flange bolts be?
Tighten the nuts gradually until the bowl is stable and seated. Avoid using excessive force because the porcelain base can crack, and additional tightening will not repair a loose floor or misaligned flange.
Can you install a repair ring without removing the toilet?
The toilet normally needs to be removed so you can clean the old seal, inspect the flange, position the ring, and install a new seal correctly. Attempting a surface repair around the bowl usually prevents a reliable fit.
When should you call a plumber for a flange problem?
Call a plumber when the subfloor is damaged, the drain pipe is broken or moving, the flange is severely corroded, or you cannot identify the connection safely. Professional help is also sensible when the repair requires opening the floor or reconnecting drain piping.