Shower valve repair: How to diagnose leaks, replace parts, and restore water control
Pro US Plumbers ·
In this article
- Key Takeaways
- Understand how a shower valve works
- Identify the signs of a failing shower valve
- Prepare for a safe shower valve repair
- Diagnose the source of the problem
- Repair or replace the faulty components
- Handle difficult shower valve repairs
- Test the repair and prevent future problems
- Further reading
- Conclusion
- Frequently Asked Questions
Key Takeaways
A shower valve controls the balance of hot and cold water as well as the flow reaching the showerhead. A careful diagnosis helps you decide whether a worn cartridge is a manageable repair or whether the valve body and wall plumbing need professional attention.
- Shut off the water before removing the handle, trim, or valve parts.
- Identify whether the leak comes from the valve, showerhead, or hidden plumbing.
- Match every replacement cartridge, washer, and seal to the existing valve.
- Open the wall only when the valve body or concealed connections are damaged.
- Use a licensed plumber when soldering, pipe cutting, or hidden leaks are involved.
Understand how a shower valve works
Before you begin a shower valve repair, it helps to understand what sits behind the trim plate. The valve receives hot and cold water, mixes or balances those supplies, and sends the resulting flow toward the showerhead or tub spout. Its internal parts are small, but their condition affects comfort, water use, and protection from sudden temperature changes.
What the valve controls
The valve controls two related things: how much water enters the shower and how hot or cold that water feels. A handle may move through a rotating arc, pull outward, or operate with a separate temperature control, depending on the design. If the handle feels normal but the temperature or flow is wrong, the problem may be inside the valve rather than at the showerhead.
Common shower valve designs
Pressure-balancing valves respond to changes in hot- and cold-water pressure, while thermostatic valves regulate temperature with a dedicated sensing mechanism. Some tub-and-shower systems also use a diverter to direct water between outlets. Knowing the design matters because a cartridge from one system may not fit another, even when the trim looks similar.
A EPA WaterSense showerhead information can help you compare these designs before you buy parts. Treat general diagrams as orientation, though; the exact arrangement depends on the valve installed in your wall.
How the cartridge, stem, and seals work together
The cartridge or stem moves inside the valve body to open, restrict, and blend the water passages. Washers, O-rings, and other seals keep water from escaping around that moving assembly. When a seal hardens or the cartridge surface wears, water may continue passing through after you close the handle or seep behind the trim.
Why valve problems affect temperature and pressure
A partially blocked passage can reduce flow, while a damaged balancing mechanism can make the temperature shift when another fixture runs. Mineral deposits may also limit the movement of the cartridge or stem. Because pressure and temperature are connected inside the valve, one worn component can create several symptoms at once.
Identify the signs of a failing shower valve
A failing valve does not always announce itself with a dramatic leak. You may first notice a slow drip, a stiff handle, or a temperature change that lasts only a few seconds. Record when the symptom occurs and whether the shower is running, because that information can separate a valve problem from a fixture or supply-line issue.
Persistent dripping after the shower is off
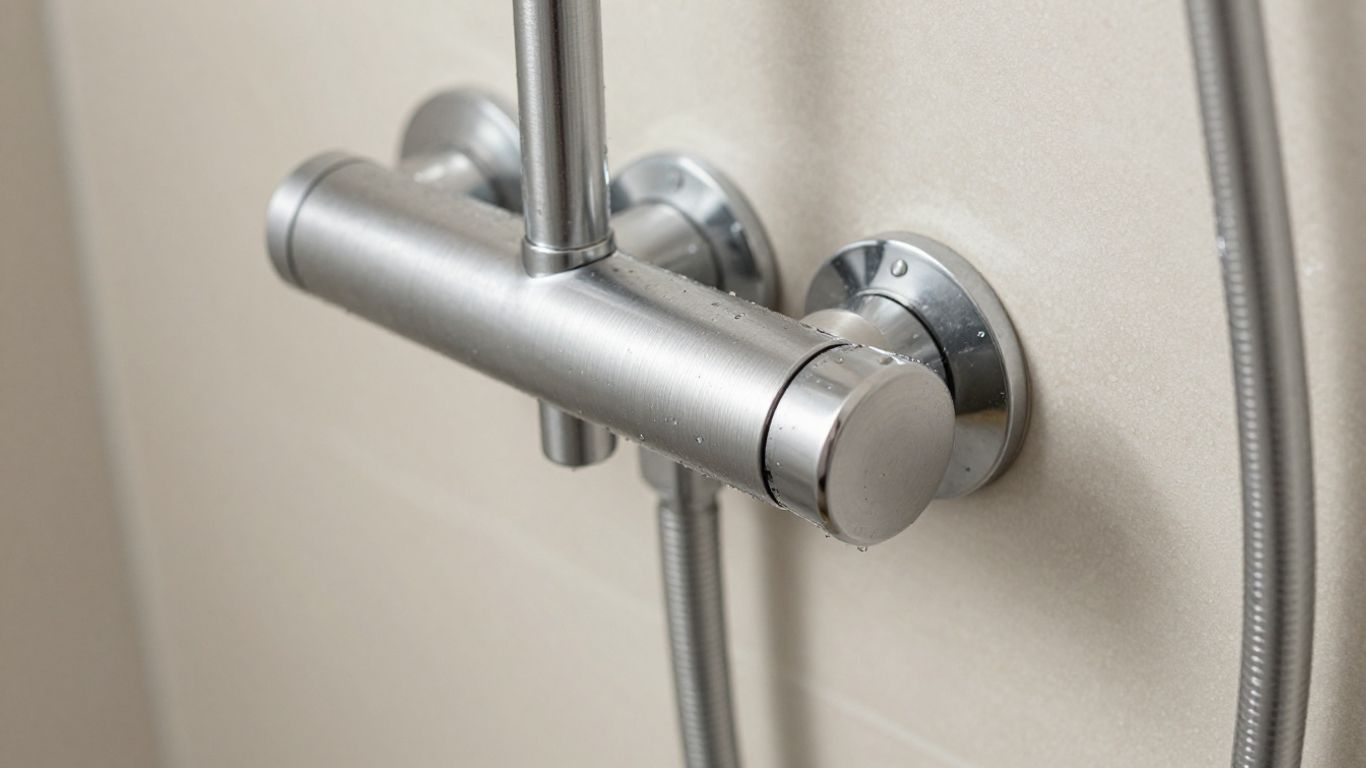
Water that continues to fall from the showerhead after the handle is closed often points to a cartridge, stem, washer, or seal that is no longer stopping the flow. Give the system a few moments to drain, then watch whether fresh water keeps appearing. A continuing drip is different from water remaining in the shower arm or head after use.
Leaks around the handle or trim plate
Moisture at the handle can come from a worn stem seal or from water escaping behind the trim plate. Remove only the trim you can safely access after shutting off the supply, and look for a clear path of water rather than assuming the visible wet spot is the source. If the wall cavity is damp, stop and investigate before cosmetic damage spreads.
Sudden changes in water temperature
A sudden burst of cold or hot water may indicate a pressure-balancing problem, a restricted passage, or a failing thermostatic component. It can also result from changes elsewhere in the home, so test the shower while another fixture is used. Repeated temperature swings deserve prompt attention, especially in homes with children or older adults.
Weak or uneven water flow
Low flow can come from a clogged showerhead, but it may also begin inside the valve. Compare the flow from the showerhead with the flow from another fixture, and inspect the head before opening the wall. If the shower remains weak with a clean head and adequate household pressure, the valve passages or cartridge may be restricted.
Noisy operation or a stuck handle
Grinding, squealing, or chattering often means that mineral buildup or corrosion is affecting a moving part. Never force a stuck handle with excessive leverage; you could damage the stem or disturb a concealed connection. A gradual loss of movement is a useful warning that the next repair may require more than a simple seal replacement.
Prepare for a safe shower valve repair
Good preparation prevents a small repair from becoming a wet-wall emergency. You need a dry work area, a way to stop the water, and replacement parts that actually match the valve. If you are unsure whether the project is a repair or replacement, a EPA's Fix a Leak Week guidance can help you weigh access, corrosion, and the condition of the existing plumbing.
Shut off the water supply
Locate the valve’s service stops if the installation has them; otherwise, shut off the home’s main water supply. Open the shower handle afterward to release pressure, and confirm that the flow has stopped before removing any retaining screw or clip. Keep the shutoff accessible in case water returns unexpectedly.
Protect the drain and surrounding surfaces
Cover the drain with a cloth or stopper so a small screw or clip cannot disappear into the pipe. Place a towel over the tub or shower floor and protect delicate tile from dropped tools. Keep removed parts in a small tray in the order they came off, since orientation can matter during reassembly.
Gather essential tools and replacement parts
A basic repair may require screwdrivers, hex keys, adjustable pliers, a cartridge puller, a flashlight, and a pick for removing old seals. You may also need a clean rag, silicone-compatible plumber’s grease, and the correct retaining clip. Do not buy a generic cartridge based only on appearance; measurements and model details are more reliable.
Confirm the valve brand and model
Look for markings on the trim, handle, cartridge, or exposed valve body, then compare them with the manufacturer’s parts information. Photograph the assembly before removal and note the cartridge orientation. If the model is discontinued, take the old part to a plumbing supplier rather than guessing from a nearly identical shape.
Decide whether the wall needs to be opened
Many cartridge and seal repairs are designed to be completed from the front of the valve. A wall opening may be necessary when the valve body is cracked, a connection is leaking behind the trim, or the installation lacks a serviceable front access point. Planning the access route first can protect tile and reduce the chance of unnecessary demolition.
Diagnose the source of the problem
Diagnosis should come before force. A showerhead blockage, a worn cartridge, and a leaking pipe behind the wall can feel similar from the bathroom side, yet they require very different work. Work from the easiest visible explanation toward the concealed components, and stop when the evidence points beyond your tools or experience.
Distinguish a valve leak from a showerhead leak
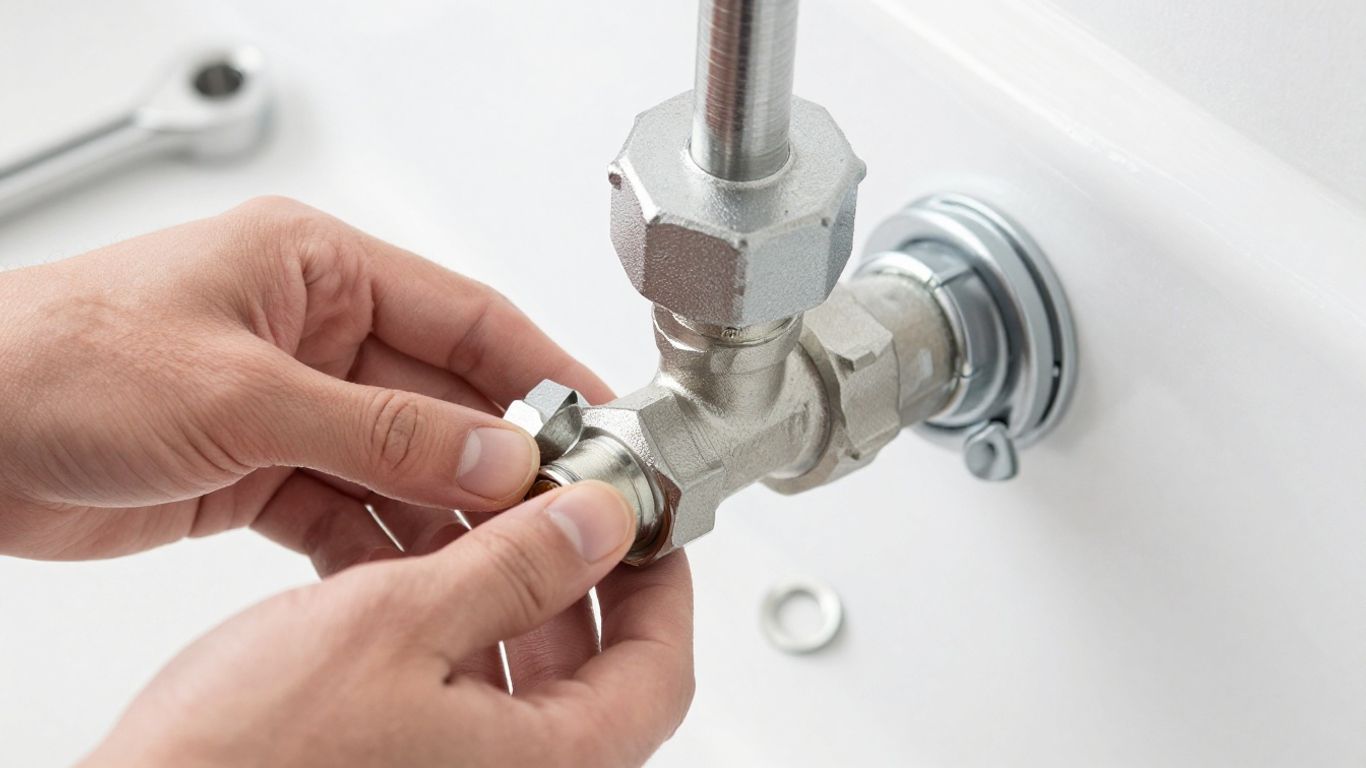
Dry the showerhead and shower arm, then close the valve and observe where new water appears. If water forms at the showerhead outlet after the system has fully drained, the valve may be passing water; if the connection itself is wet, the arm or fitting may be at fault. Water around the handle or trim points to the valve assembly or the seal between the trim and wall.
Inspect the cartridge or valve stem
Once the water is off, remove the handle and trim carefully enough to preserve the retaining hardware. Look for scoring, cracks, distorted plastic, or a stem that does not move smoothly. A cartridge can look intact while its internal seals have failed, so symptoms and model compatibility matter as much as visual inspection.
Check worn O-rings, washers, and seals
Flattened O-rings, brittle washers, and nicked seals are common sources of seepage. Compare each old seal with the replacement and check that it sits in the correct groove without twisting. A new seal will not solve the problem if the surface it contacts is deeply scratched or corroded.
Look for corrosion and mineral buildup
White or green deposits can restrict movement and damage sealing surfaces. Wipe away loose buildup with a suitable cloth and inspect the metal underneath; do not scrape aggressively inside a precision valve body. If mineral deposits have locked the cartridge in place, extraction may require a dedicated puller or professional help.
Determine whether the valve body is damaged
A cracked body, stripped connection, or persistent leak behind the wall is beyond a routine front-access repair. Check for moisture that returns after the visible parts are dry, and listen for water movement when the shower is off. Hidden leaks can damage framing, insulation, and finished surfaces, so treat them as urgent rather than continuing to replace external seals.
Repair or replace the faulty components
Once you know which part has failed, work slowly and keep the assembly clean. The goal is not simply to make the handle move again; it is to restore a reliable seal and correct temperature control without damaging the valve body. A clear sequence also makes it easier to reverse the work if the replacement part does not match.
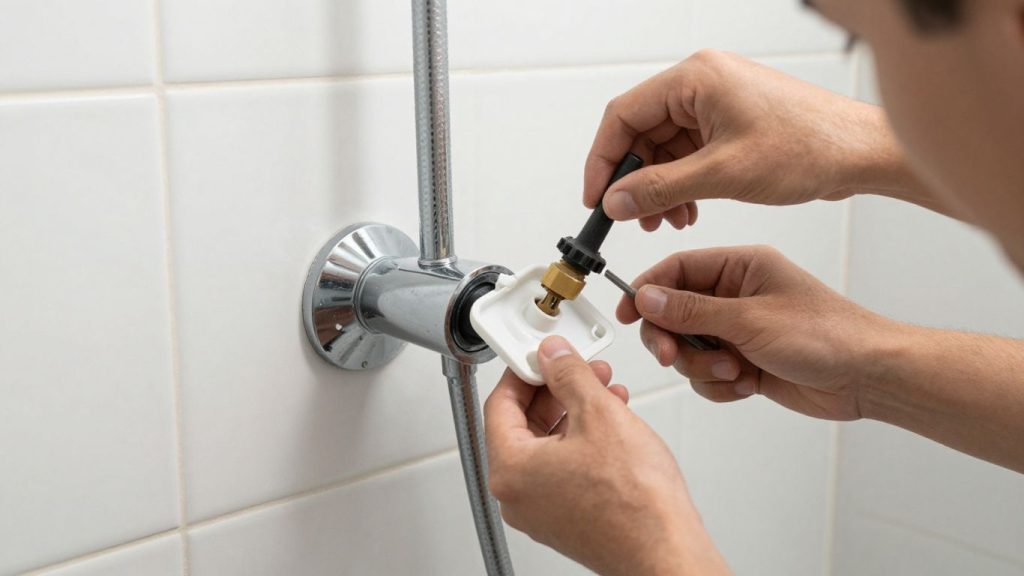
Remove the handle and trim plate
Protect the finish before loosening the handle screw or set screw. Pull the handle straight when possible, then remove the trim plate screws and gently separate the plate from the wall. If caulk holds the plate in place, score the edge carefully rather than prying against tile.
Extract and inspect the cartridge
Remove the retaining clip or nut according to the valve design, then pull the cartridge in a straight, controlled motion. A cartridge puller can prevent side loading that damages the body. Before discarding it, compare its length, tabs, ports, and orientation with the replacement.
Replace washers, O-rings, and retaining clips
Replace small sealing parts only when the cartridge or stem is otherwise serviceable and the valve body is sound. The following sequence helps keep the work organized:
- Match each new seal to the removed part before installation.
- Clean the groove so grit cannot hold the seal away from its seat.
- Apply a thin coat of compatible plumber’s grease where the manufacturer allows it.
- Reinstall the retaining clip or nut fully before operating the handle.
After the parts are installed, confirm that the clip is seated and that no seal has rolled out of its groove. A missing clip can allow the cartridge to shift when pressure returns, causing an immediate leak.
Clean the valve body before reassembly
Use a clean cloth to remove loose debris from the exposed body and sealing surfaces. Avoid dropping fibers or abrasive particles into the water passages. If the body is heavily corroded or the seating surface is damaged, cleaning alone will not restore a dependable seal.
Install the replacement part correctly
Orient the cartridge exactly as the old one was installed unless the manufacturer’s instructions specify otherwise. Push it in evenly, secure the retaining hardware, and reinstall the trim without overtightening. Before applying final caulk, leave the area accessible until the repair has passed a leak test.
Handle difficult shower valve repairs
Some repairs become difficult because the original valve was installed decades ago, the cartridge is seized, or the failure is hidden behind finished tile. Recognizing that point early can save you from broken parts and unnecessary water damage. Pro US Plumbers connects homeowners with independent plumbers in their area. The plumbers you hear from are independent businesses, not employees or agents of ours, so confirm each one’s license and insurance yourself before you hire.
Repair a seized or corroded cartridge
A seized cartridge may need penetrating treatment, controlled extraction, or a cartridge puller designed for that model. Protect the valve body while applying force, and stop if the stem breaks or the body begins to twist. A broken cartridge inside the wall can turn a front-access repair into a larger plumbing job.
Address leaks inside the wall
If water continues behind the trim or appears below the shower on an adjacent ceiling, shut off the supply and limit use of the fixture. The wall may need an access opening so the plumber can inspect connections and dry the cavity. Do not close the surface until the source is repaired and the area is adequately dried.
Work with older or discontinued valve models
Older valves may use parts that are no longer stocked or that have been replaced by a revised assembly. Preserve the old cartridge, photograph the valve, and record measurements before searching for a substitute. If no compatible repair part exists, replacing the valve may be more practical than repeatedly adapting mismatched seals.
Replace a damaged valve body
A damaged body usually requires access to the supply connections and careful support of the surrounding pipe. The replacement must fit the rough-in depth, outlet arrangement, and trim system, not just the visible handle. Because a body replacement can affect tile, framing, and water connections, treat it as a planned plumbing project even when the original symptom was a small drip.
Know when soldering or pipe cutting is required
Soldering, brazing, press connections, or pipe cutting change the risk level of the job. You need suitable tools, safe heat control, and a way to test every connection after the work. If you cannot confidently isolate the water, protect combustible materials, and verify the finished joints, arrange a licensed plumber instead.
Test the repair and prevent future problems
A repair is not finished when the trim is back on. You still need to pressurize the valve, watch the connections, and confirm that the water responds correctly across its full range. Take a few extra minutes now; a slow leak is much easier to address before the wall is sealed.
Restore the water supply gradually
Open the main shutoff or service stop slowly while the shower handle remains in a safe position. Pause as pressure returns and inspect the exposed trim area for seepage. If water sprays, the retaining hardware is not seated, or the valve behaves unexpectedly, shut the supply off again before proceeding.
Check for leaks and proper temperature control
Run the shower at several handle positions and watch around the stem, cartridge area, trim plate, and nearby connections. Test temperature changes gradually rather than turning immediately to the hottest setting. The handle should move smoothly, and the water should remain stable when another fixture is briefly used.
Flush debris from the valve and showerhead
Remove the showerhead if practical and let water run briefly through the open outlet to clear loose debris. Clean the showerhead screen separately, then reinstall it with the appropriate seal. Flush gently and inspect again, since trapped mineral fragments can affect flow soon after a cartridge replacement.
Use compatible parts and plumber’s grease
Use parts specified for the exact valve model and a lubricant compatible with the seal material. Too much grease can trap grit, while the wrong lubricant can soften or swell seals. Keep a record of the model and repair date so the next service call begins with useful information.
Know when to hire a licensed plumber
Call a licensed plumber for concealed leaks, damaged valve bodies, extensive corrosion, pipe cutting, soldering, or any repair that leaves you uncertain about water safety. Pro US Plumbers is a referral service: it puts your request in front of independent plumbers who work nearby.
For a planned replacement, compare the valve, trim, access, and labor requirements before buying materials. For an active leak, move quickly to shut off the supply and request help rather than allowing water to continue entering the wall.
Related articles
Toilet flange repair kits: How to choose and install the right fix and Plumber toilet repair: A complete guide to diagnosing problems and choosing the right fix cover other plumbing questions you may run into.
Further reading
For more background, see the EPA WaterSense and the IAPMO, which publishes the Uniform Plumbing Code. It is also worth reading the International Code Council and the InterNACHI. You can find more detail from the American Society of Home Inspectors and the FTC consumer advice.
If you would rather not sort this out alone, Fixtures and appliance plumbing (faucets, showers, disposals) and independent local plumbers in your area can contact you directly.
Bathroom and kitchen plumbing and Water heater repair and installation may also be useful before you decide.
Pricing guide: how plumbers charge and how to get a fair written quote and Request form: describe the problem so independent local plumbers can contact you may also be useful before you decide.
Where requests can be sent from: states and metros and About: how this referral service works may also be useful before you decide.
All plumbing service lines may also be useful before you decide.
Conclusion
A shower valve repair is often manageable when the failure is limited to a cartridge, washer, O-ring, or seal, but hidden leaks and damaged valve bodies call for professional work. Shut off the water, diagnose the source, use compatible parts, and test the result before closing the wall. That method gives you better water control and a clearer decision about when repair should become replacement.
Frequently Asked Questions
How do you know if a shower valve is failing?
Persistent dripping, leaks around the handle, temperature swings, weak flow, unusual noise, and a stiff handle can all indicate valve trouble. Check the showerhead and visible connections first so you do not mistake an external fixture problem for a valve failure.
Can a dripping showerhead be fixed without replacing the whole valve?
Often, yes. A worn cartridge, stem, washer, or seal may be replaceable from the front of the valve, provided the valve body is sound and the correct part is available.
Should you shut off the main water before repairing a shower valve?
Yes, unless reliable service stops isolate that valve. After shutting off the supply, open the shower handle to release pressure and confirm that no water continues flowing before removing parts.
Why does shower temperature change suddenly?
A failing pressure-balancing or thermostatic component, mineral buildup, restricted passages, or changes in household water use can cause temperature shifts. Repeated or severe changes should be diagnosed promptly.
How long does a shower valve cartridge usually last?
Service life varies with water quality, use, valve design, and maintenance. Replace the cartridge when symptoms persist and inspection shows wear, damage, or loss of sealing rather than relying on a fixed timetable.
Can you replace a shower valve without opening the wall?
Many cartridge and seal repairs are front-access jobs. The wall may need to be opened when the valve body or concealed connections are damaged, inaccessible, or leaking behind the finished surface.
When should you hire a plumber for shower valve repair?
Hire a licensed plumber when the leak is inside the wall, the valve body is damaged, the cartridge is seized, or soldering and pipe cutting are required. Professional help is also sensible when you cannot safely isolate or test the water supply.